Have you ever been in a situation where your car’s window just won’t budge? It’s frustrating, right? Well, chances are, you might be dealing with a faulty window motor. But fear not, because in this article, we’ll take you through the step-by-step process of removing and replacing that troublesome window motor like a pro.
Step 1: Gather Your Tools and Materials
Before you dive into any repair project, it’s essential to make sure you have all the necessary tools and materials at hand. For this job, you’ll need:
- Screwdrivers (both flathead and Phillips)
- Pliers
- Socket set
- Trim panel removal tools
- New window motor (make sure it’s compatible with your vehicle)
- Safety glasses
- Gloves
- Work gloves
- Ratchet and extension
Once you’ve got your tools and materials ready, it’s time to get down to business.
Step 2: Disconnect the Battery
Safety should always be your top priority when working on any automotive project. To avoid any electrical mishaps, start by disconnecting the negative terminal of your car’s battery. This will ensure that there’s no power running to the window motor while you work on it.
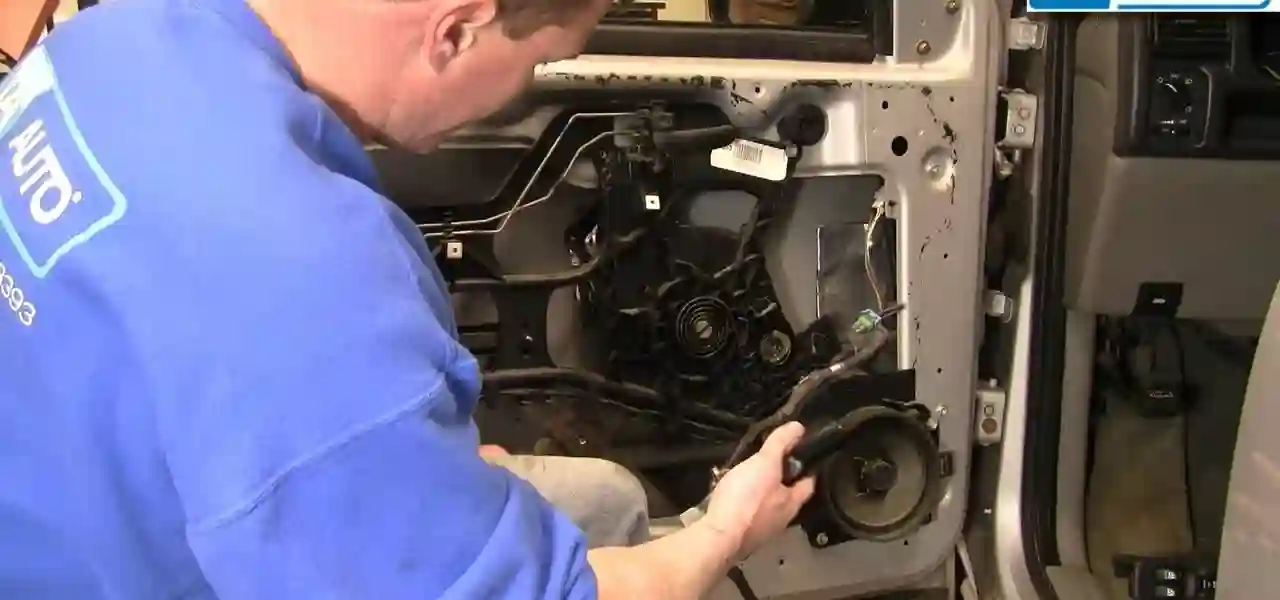
Step 3: Remove the Door Panel
The window motor is located inside the door panel, so the next step is to remove it. Start by using your trim panel removal tools to carefully pry off any covers or panels on the door. You’ll likely find screws hidden behind these panels, so be sure to remove them using your screwdriver.
Once you’ve removed all the screws, gently pry the door panel away from the door frame. You may need to use a bit of force, but be careful not to damage the panel or any clips holding it in place. Work your way around the panel until it’s entirely detached.
Step 4: Disconnect Wiring and Components
With the door panel out of the way, you’ll have access to the window motor and its wiring. Locate the electrical connector connected to the motor and disconnect it. You may need to use your pliers to release any retaining clips or tabs holding the connector in place.
Additionally, if there are any other components like door handles or locks attached to the panel, disconnect them as well. This will make it easier to remove the panel completely.
Step 5: Remove the Window Regulator
The window motor is connected to the window regulator, which is responsible for moving the window up and down. To access the motor, you’ll need to detach the regulator. Start by locating the bolts or screws securing it to the door frame. Use your socket set to remove these fasteners.
Once the regulator is free, carefully maneuver it out of the door, taking care not to damage the window glass in the process. Depending on your vehicle’s make and model, you may need to lower or raise the window slightly to access and remove the regulator.
Step 6: Replace the Window Motor
Now that you’ve exposed the faulty window motor, it’s time to remove and replace it. Locate the mounting bolts or screws securing the motor to the door frame. Use your socket set to remove these fasteners, and then carefully pull the motor out of its housing.
Next, take your new window motor and align it with the mounting holes. Secure it in place by reattaching the bolts or screws you removed earlier. Make sure the motor is snugly fitted, but be cautious not to overtighten, as it may damage the motor or door frame.
Step 7: Reassemble the Components
With the new motor in place, it’s time to put everything back together. Follow these steps in reverse order:
- Reattach the window regulator to the door frame, securing it with the bolts or screws.
- Reconnect any electrical connectors and components you disconnected earlier.
- Carefully position the door panel back onto the door frame, ensuring that all clips and screws align correctly.
- Reinsert and tighten the screws you removed from the door panel, making sure it’s securely attached.
- Finally, reconnect the negative terminal of your car’s battery.
Step 8: Test the Window
Now that everything is back in place, it’s time to test your newly replaced window motor. Turn the ignition key to the “On” position and try operating the window. If it moves smoothly and without any issues, congratulations! You’ve successfully replaced your window motor.
Step 9: Finishing Touches
Before you call it a day, double-check that all components are securely fastened and that the window operates correctly. Once you’re satisfied with the results, put any covers or panels back in place on the door.
And there you have it – you’ve removed and replaced a faulty window motor like a pro! Remember that while this DIY project can save you money on labor costs, it does require some mechanical aptitude and the right tools. If you ever feel uncomfortable or unsure during the process, it’s always a good idea to seek professional help to ensure your vehicle’s safety and functionality.
In conclusion, a malfunctioning window motor can be a real annoyance, but with the right guidance and a bit of DIY spirit, you can tackle this repair with confidence. Just remember to prioritize safety, follow the steps carefully, and enjoy the satisfaction of having a smoothly operating car window once again!